Wind Direction Sensor Installation Guide
Wind direction sensors are vital for weather monitoring, farming, aviation, marine work, and renewable energy. Even advanced sensors can fail to deliver reliable data if they are installed wrong.
This guide is key for pros and DIY users. It covers planning, installation, calibration, maintenance, and common mistakes to avoid.
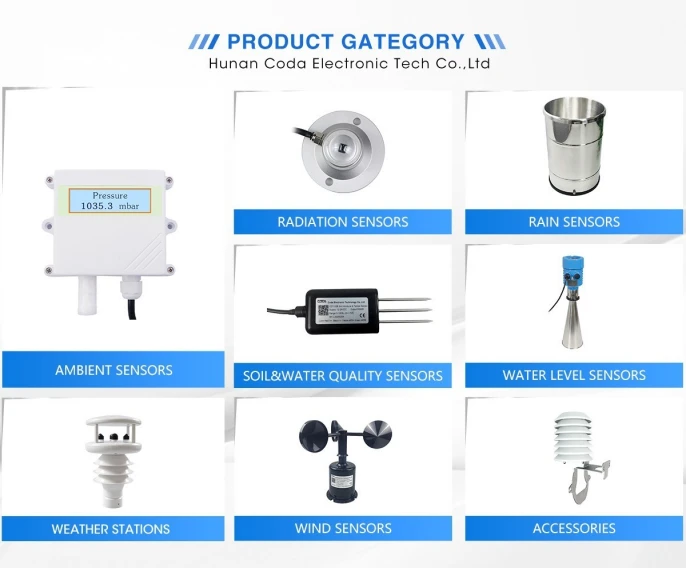
1. Introduction to Wind Direction Sensors: Types and Applications
1.1 Types of Wind Direction Sensors
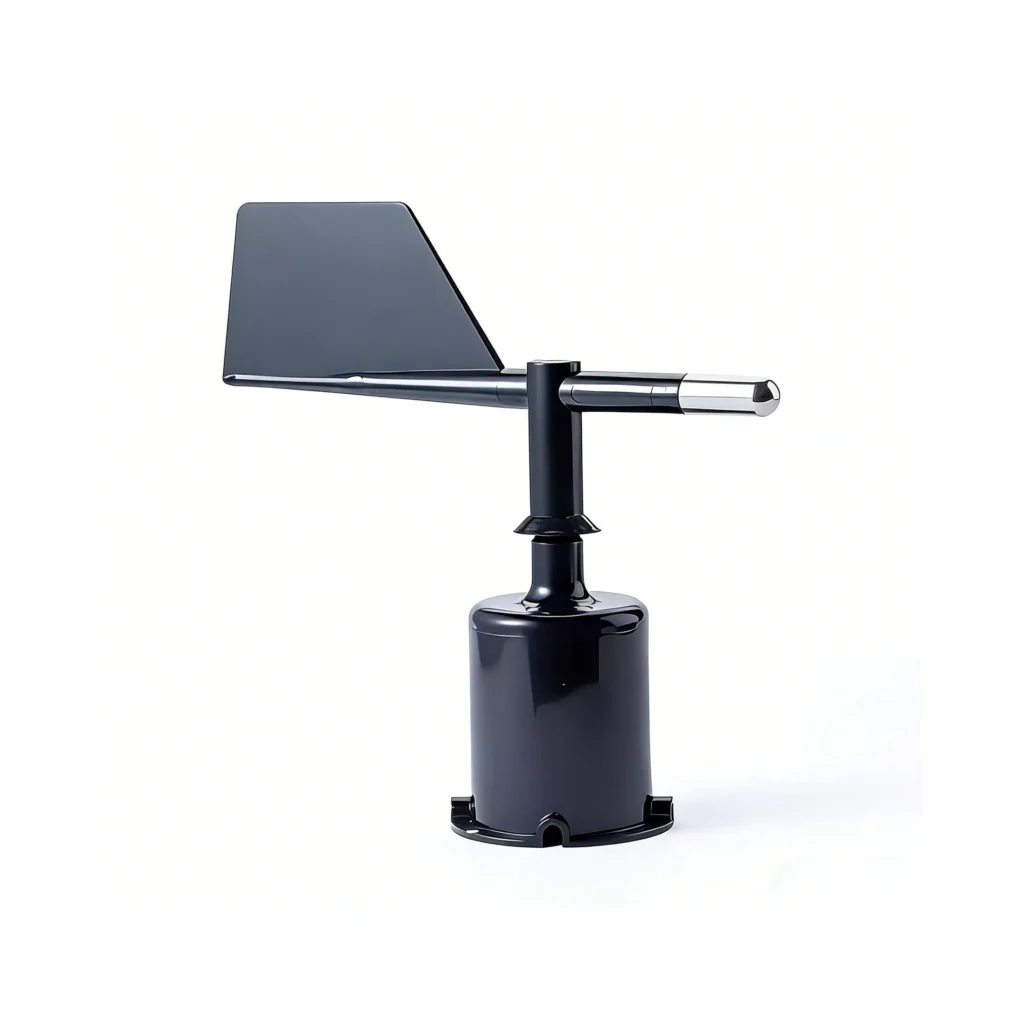
Mechanical (Wind Vanes): The most common and low-cost option. It uses a rotating vane and a counterweight. Suitable for weather stations, farms, and small renewable systems. It needs maintenance in harsh environments.
Ultrasonic Sensors: No moving parts. It uses sound waves for precision. And it is ideal for harsh marine and industrial settings. It costs more.
Potentiometric Sensors: Simple, easy to install, and works with most systems. It can wear out in dusty or humid conditions.
1.2 Common Applications
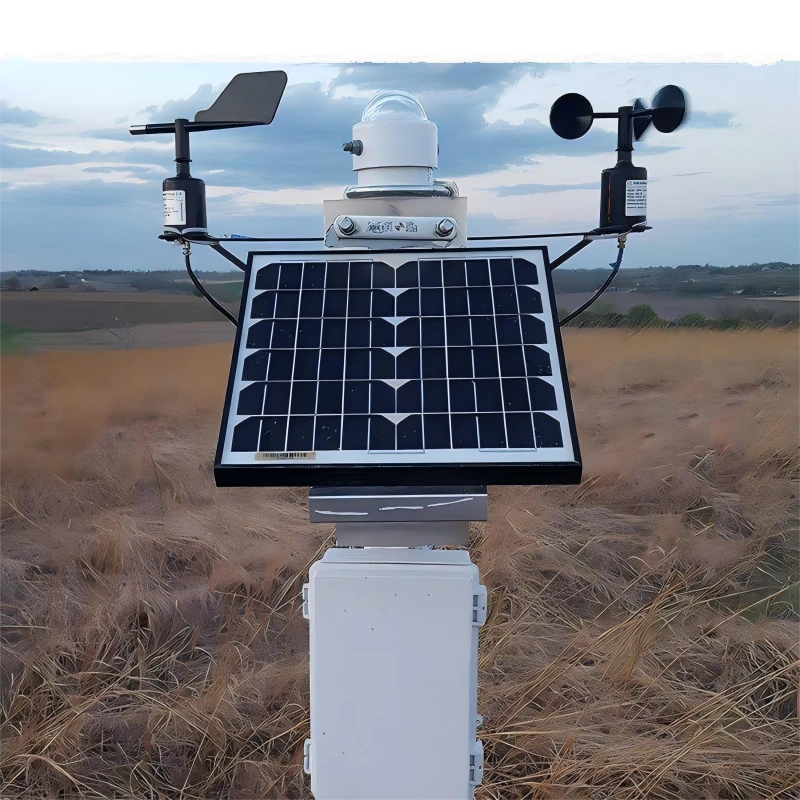
Installation requirements vary by use case. Weather monitoring needs height for “free wind.” Agriculture systems should be mounted at crop height. Aviation needs safe takeoff and landing data.
Maritime setups should be mounted on a clear, unobstructed mast. Renewable energy systems should align with turbine hub height. Industrial safety systems monitor wind hazards.
2. Pre-Installation Planning: Key Considerations
Rushing installation can cause errors. Focus on these key steps:
2.1 Select the Right Sensor
Choose based on accuracy (±1° to ±5° for aviation or weather, ±10° for home or farming). Also consider weather resistance, power needs (battery or wired), system compatibility, and your budget.
2.2 Choose the Optimal Mounting Location
Location is the biggest accuracy factor. Follow these rules:
– Avoid Obstructions: Mount 10x the height of nearby obstacles (within 50m) to avoid turbulence. For homes: Place it at least 3 m high. Keep it away from roofs and chimneys. For marine use: Place it at the highest point on the mast.
– **Height requirements:**
– Use **10 m or more** for weather monitoring.
– Use **2 to 3 m** for farming.
– Place sensors at the **hub height** for wind turbines.
– Use **10 m or more** near runways for aviation.
– Avoid Extremes: Avoid flood-prone areas, extreme temperatures (above 60°C or below -40°C), dust, or saltwater. Only use these areas if the sensor is rated for them.
– Accessibility: Ensure easy access for maintenance (cleaning, calibration).
2.3 Gather Tools and Materials
Essentials: mounting hardware like brackets and bolts.
Tools: screwdrivers, a level, a compass, and a drill.
Wiring, if needed.
Protective materials: silicone sealant and cable ties.
Safety gear: gloves, a ladder, and a harness for heights. Check the manufacturer’s manual for details specific to your model.
2.4 Check Regulations
Obtain permits for tall structures or public areas. Comply with industry standards (IEC 61400 for wind energy, FAA for aviation) to avoid fines or hazards.
3. Step-by-Step Installation Guide
Follow these steps for most sensors (always check the manufacturer’s manual):
3.1 Step 1: Prepare the Mounting Surface
Ensure stability: Pole mounts must be concrete-anchored and straight.
Roof mounts must be secured to rafters and sealed to prevent leaks.
Wall mounts must use anchors that fit the wall material.
3.2 Step 2: Mount the Sensor Bracket
Secure the bracket so it stays level and tight. Use lock washers or thread locker. For poles, use U-bolts or hose clamps to stop sliding.
3.3 Step 3: Install the Sensor
Mechanical: Align the mounting holes and ensure free rotation.
Ultrasonic: Mount it so the transducers are not blocked.
Potentiometric: Secure it and keep the wiring easy to reach.
3.4 Step 4: Align to True North
Critical for accuracy. Use a compass and adjust for magnetic declination.
Find the declination using an online calculator.
Align the vane or north marker to true north. Verify with a data logger (0° = north).
3.5 Step 5: Wire the Sensor (If Wired)
Turn off the power. Run the wire and secure it with cable ties. Strip the insulation. Connect the wire to the terminals.
Follow the wiring diagram. Seal the connections with a junction box and silicone. For marine use, use shielded cables and ground equipment.
3.6 Step 6: Test the Sensor
Turn on the power and check for a signal.
Test the response by rotating the vane or using a fan.
Verify accuracy with a compass.
Check for interference.
4. Post-Installation Calibration
Calibration helps keep results accurate over time. Google searches show this is a common pain point. Follow these guidelines:
4.1 Why Calibrate?
Sensors can drift over time due to wear, environment, or damage.
This matters in aviation and weather systems.
For example, civil aviation allows a maximum error of ±5°.
4.2 When to Calibrate
After installation, every 6–12 months (6 months for harsh environments), after damage, or when readings are erratic. Use professionals for commercial use; DIY with a compass for home use.
4.3 How to Calibrate
– Mechanical: Align to true north. Check 0° (north), 90° (east), 180° (south), and 270° (west). Adjust the calibration screw if needed.
– Ultrasonic: Use the built-in calibration through the data logger. Align the device to true north.
– Professional: Use wind tunnels and reference standards when you need high accuracy, like in aviation or wind energy.
5. Common Installation Mistakes and Solutions
Avoid these frequent errors to ensure accuracy and safety:
5.1 Mistake 1: Near Obstructions
Solution: Follow the 10x height rule. Mount it away from roofs, trees, and vessel superstructures.
5.2 Mistake 2: Incorrect North Alignment
Solution: Adjust for magnetic declination. Verify using a compass and a data logger.
5.3 Mistake 3: Poor Wiring
Solution: Follow the diagrams. Use shielded cables. Seal all connections. Hire a pro if you are unsure.
5.4 Mistake 4: Wrong Mounting Hardware
Solution: Use high-quality, compatible hardware. Tighten it securely with lock washers.
5.5 Mistake 5: Neglecting Maintenance
Solution: Clean it often. Calibrate it every 6 to 12 months. Replace the batteries. Check it for damage.
5.6 Mistake 6: Low Mounting
Solution: Mount at a height that fits the application (at least 10 m for weather, and 2 to 3 m for agriculture).
5.7 Mistake 7: Poor Cable Management
Solution: Secure cables with ties.
Avoid sharp bends.
Use UV-resistant cables.
Make drip loops.
6. Maintenance and Troubleshooting
Regular care extends sensor life. Use these tips:
6.1 Regular Maintenance
– Clean: Remove debris (soft brush for mechanical, damp cloth for ultrasonic).
– Inspect: Check wiring for cuts or corrosion. Check hardware for tight parts or rust.
– Batteries: Replace lithium batteries before they die (for wireless sensors).
– Calibrate: Every 6–12 months.
6.2 Common Troubleshooting
6.2.1 No Readings
Check power (batteries or supply), wiring connections, and sensor alignment. Make sure nearby electronics do not cause interference.
6.2.2 Erratic Readings
Check for obstructions, re-calibrate, inspect wiring for damage, or move the sensor to a less turbulent location.
6.2.3 Mechanical Sensor Sticking
Clean debris from the vane and shaft. Ensure there is no friction. Replace worn parts if needed.
By following these guidelines, you will ensure your wind direction sensor gives accurate, reliable data for years. Always prioritize manufacturer instructions and industry standards for optimal performance.