how does soil moisture sensor work?
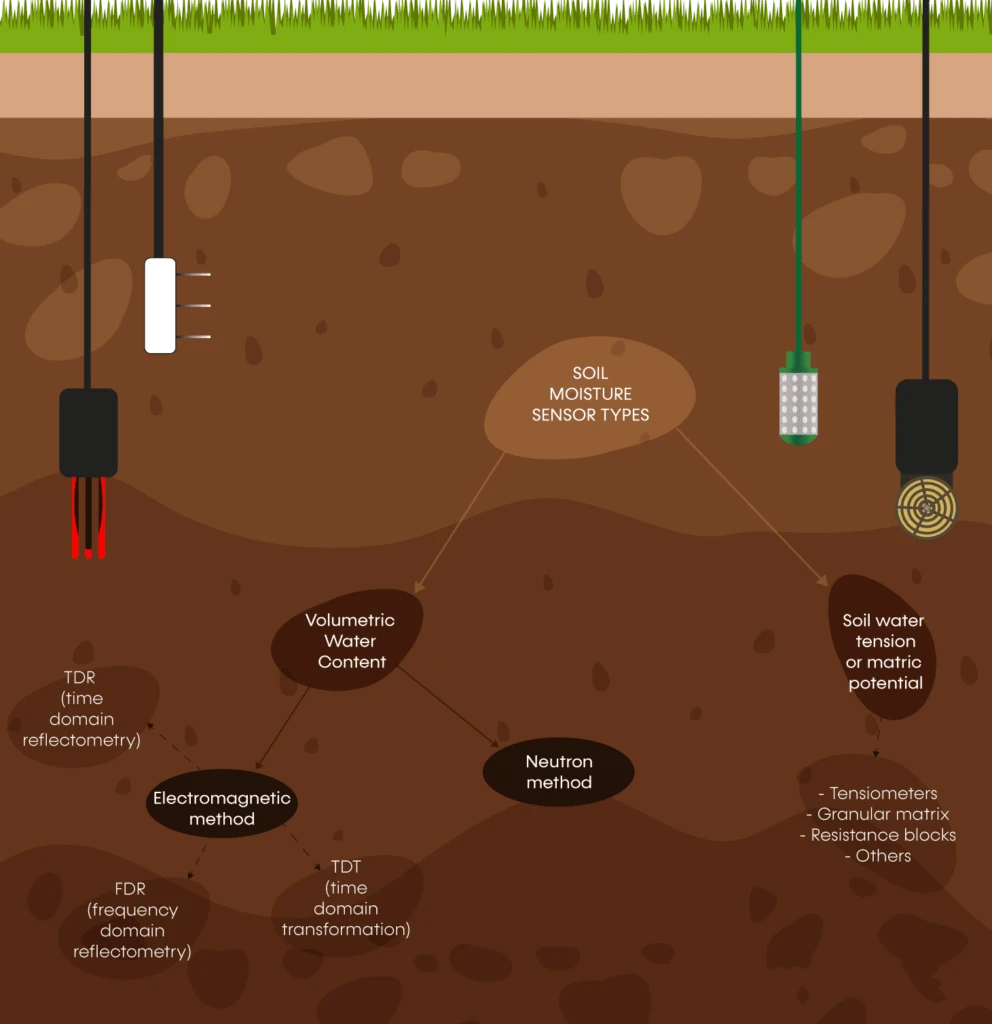
types of soil moisture sensors
Soil moisture sensors work using different methods to measure how much water is in the soil. Here are how some common types work:

Capacitive Soil Moisture Sensors
Basic Principle
These sensors work because water conducts electricity better than air and most types of water in the soil. A capacitive sensor has two or more electrodes that form a capacitor. When soil is in contact with the sensor, the water in the soil affects the capacitance between the electrodes.
Measurement Process
The sensor measures capacitance. It uses the link between capacitance and soil moisture to find the amount of water in the soil.
When soil moisture increases, the capacitance value also goes up. Someone then changes this value into a digital or analog signal. A connected device can read and understand this signal.
Resistance Soil Moisture Sensors
Basic Principle
The electrical resistance of soil changes with its moisture content. Dry soil does not conduct electricity well. This is because it has fewer ions to help with conduction.
As the soil gets wetter, water helps electrical charge current flow more easily. This reduces resistance.
Measurement Process
The sensor sends a small electrical current through the soil. It does this using two electrodes. It measures the resistance that is created.
Researchers then connect the resistance value to the soil moisture level. Lower resistance values mean higher soil moisture. Researchers use this link to find out the moisture volumetric water content in the irrigation systems.
Time Domain Reflectometry (TDR) Sensors
Basic Principle
TDR sensors send an electromagnetic pulse through a special tube called a waveguide. This waveguide is often a pair of metal rods or a coaxial cable. They place it into the soil.
The pulse moves through the waveguide. It reflects back when it hits a change in the medium’s electrical properties. This change can happen at the edge of air and soil or between soils with different moisture levels.
Measurement Process
We measure how long it takes for the pulse to travel and come back. The speed of electromagnetic waves in soil depends on the soil’s dielectric constant.
This constant is linked to the soil water content. The sensor checks how long it takes for the pulse to bounce back. It can then find out how much moisture is in the soil.

Frequency Domain Soil Sensors
Basic Principle
These sensors send out an electromagnetic signal at a certain frequency into the soil. The signal works with the soil and the water molecules in it. The water molecules in the soil cause a shift in the frequency of the reflected signal.
Measurement Process
The sensor measures the change in the frequency of the reflected signal. Researchers relate this frequency shift to the soil moisture content through calibration curves. Different frequencies can work well with different soil types and the measurement range you want.
Gravimetric Soil Sensors
Basic Principle
Gravimetric soil moisture sensors measure the actual weight of water in a given volume of soil. The basic concept relies on the fact that the weight of the soil sample changes as the amount of water in it changes.
Measurement Process
A technician collects a known volume of soil and measures its wet weight. Researchers dry the soil sample in an oven. They do this until all the water is gone.
Then, they measure the dry weight. The difference between the wet and dry weights gives the weight of the water in the soil sample. Researchers find the soil moisture content by comparing the weight of water to the weight of dry soil.

how to install an automatic soil moisture sensor?
To install an automatic soil moisture sensor, follow a few important steps. Start with preparation and then move to calibration. Here is a detailed guide:
Preparation
Gather Materials and Tools: You will need a soil moisture sensor, the right cables or connectors, and a data collection logger or control unit if needed. You will also need a power source.
Select the Installation Location: Pick a spot that shows the type of soil you want to check. Stay away from places near water sources, drains, or where people and machines often go. For example, in a garden, choose a spot that is away from the edge. It should not be directly under a downspout.
Ground Installation
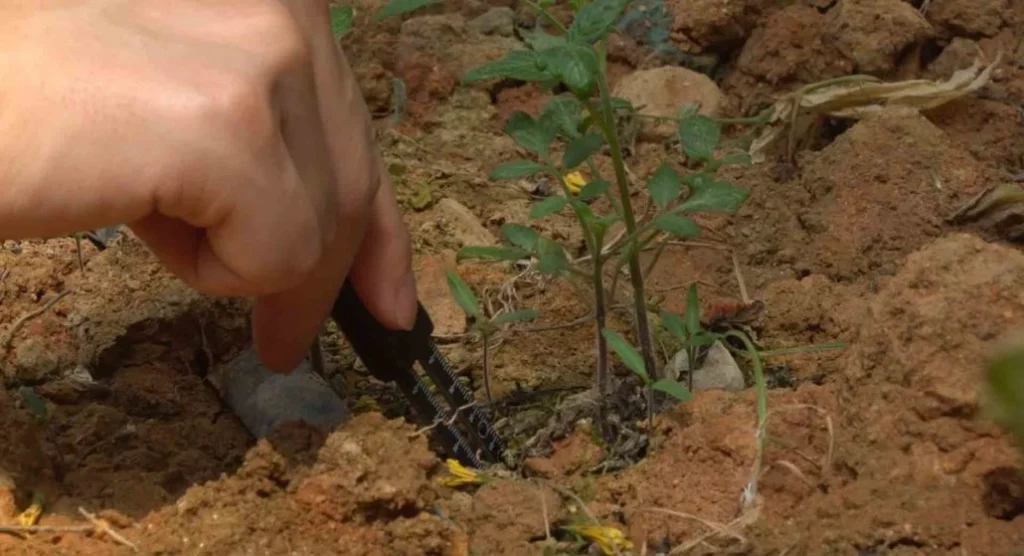
Dig a Hole: Use a shovel to dig a hole. Make sure it is deep enough for your sensor. The depth depends on the soil type and the plants you are watching. For most garden plants, a depth of 10-20 cm is often suitable.
Insert the Sensor: Carefully put the sensor in the hole. Make sure it is straight and touching the soil well. Some sensors may come with a protective casing or mounting bracket to help with this.
Fill the Hole: Use the dirt you dug to fill the hole. Gently press it down to get rid of air pockets. This helps the soil-sensor make good contact.
Above-Ground Installation
Attach the Sensor: If the sensor is for above-ground use, fix it to a stake or pole with the mounting hardware. Place the sensor near the soil surface, but make sure it does not touch the soil.
Connect Cables: If the sensor needs outside power or data, connect the right cables as the manufacturer says. Use waterproof connectors if needed to guard against moisture.
Connect to Power and Data Logging Device
Power Connection: Connect the sensor to the power source. This could be a battery, a solar panel, or power from the mains. Follow the wiring diagram given. Use a multimeter to check the voltage. Make sure the power supply is correct.
Data Logging Connection: If you use a data logger or control unit, connect the sensor with the right cables. Use the right way to communicate, like USB, RS485, or wireless. Set up the data logger to choose the sampling interval and other settings.


Testing and Calibration
Initial Testing: Before you bury or secure the sensor, do a quick test. This will make sure it is working well. Check the readings on the data logger or connected device. Make sure they are within the expected range.
Calibration: Many soil moisture sensors need calibration to give accurate readings. Follow the manufacturer’s instructions for calibration. This may include exposing the sensor to known moisture levels. Then, adjust the calibration settings as needed.
Final Checks
Check Connections: Once installed, double-check all connections to ensure they are secure and free from damage.
Test the Data Transmission Line: Send a test signal or sample data. This checks if the sensor works well with the data logger or control unit.
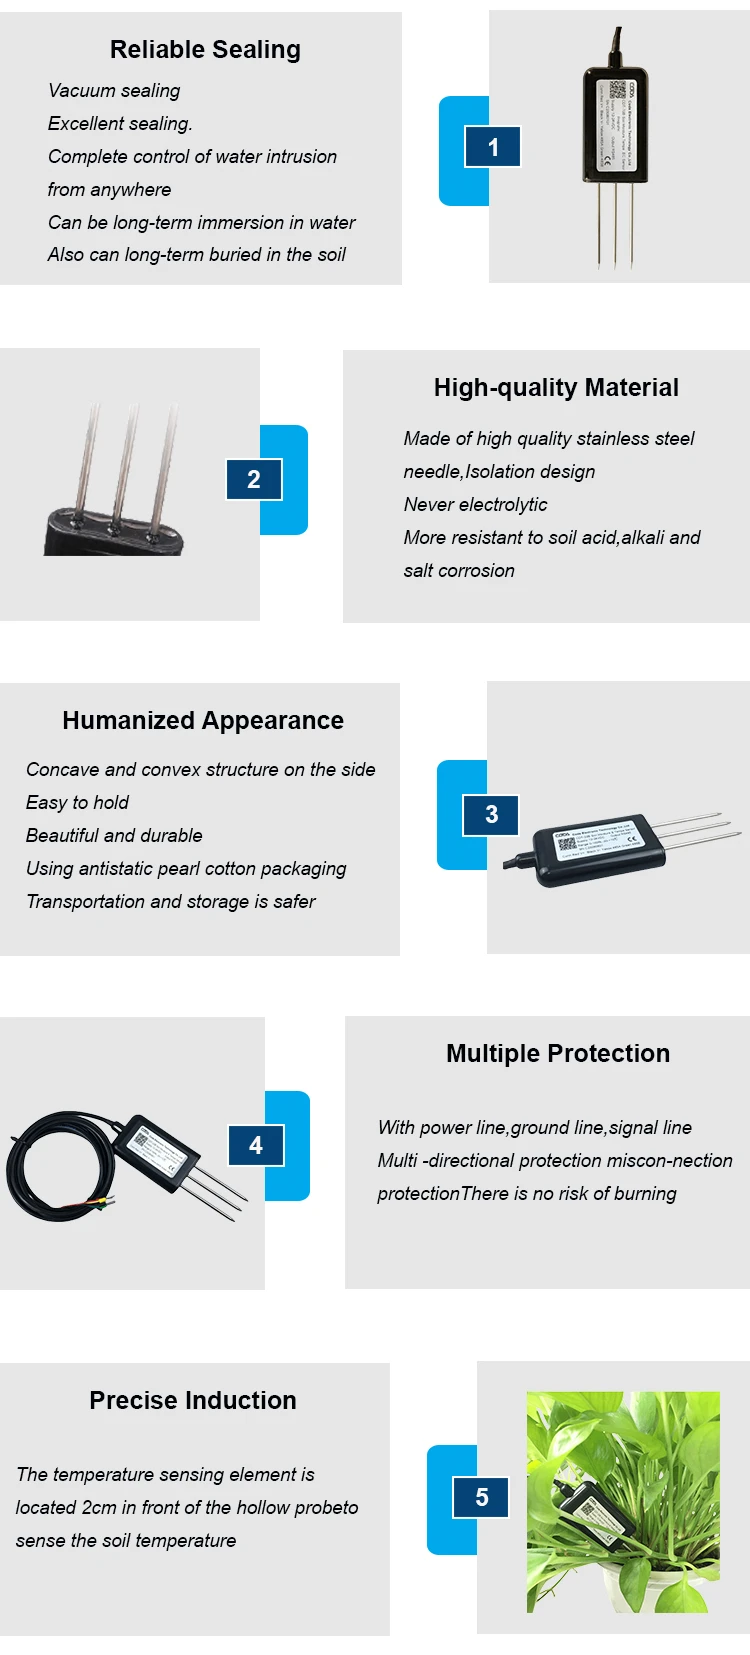
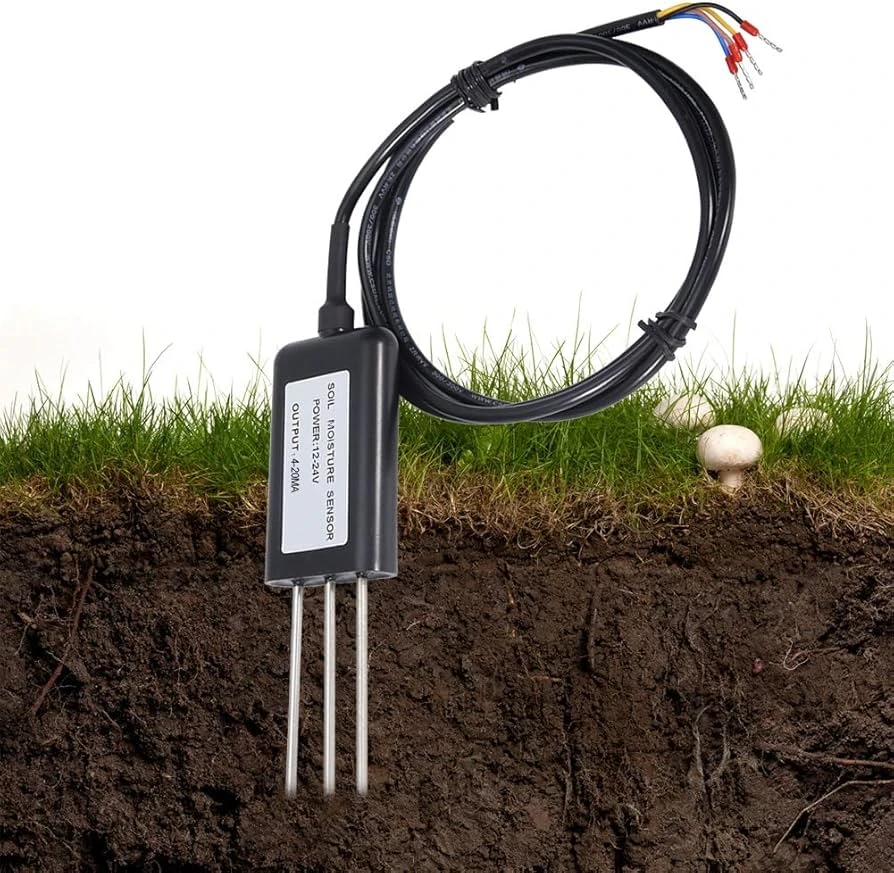
CDT-22B Soil Moisture & Temperature Sensor
CDT-22B Soil Moisture & Temperature Sensor to integrate the moisture and temperature measurement. The stainless steel probe goes into the soil surface or profile. It quickly tests soil moisture and temperature.